How to hang ten in the Lowcountry 🤙
Growing up on Lake Erie, I am no stranger to watersports… except surfing. So when I moved to Charleston, I put surf lessons at the top of my “to-do” list. The only problem– I knew absolutely nothing about surfing. Would you believe there is more to it than simply standing up + not falling down?
From onshore winds, to the amount of salt in the ocean, to what material is covering the ocean floor– there are multiple factors which make surfing on the Charleston coast unique compared to other parts of the world.
Since the ‘The Washout’ at Folly Beach is the surf mecca of South Carolina, we called on Kyle Busey, owner of Carolina Salt Surf Lessons, + Peter Melhado, founder of Isla Surf School, to learn more about the area’s surfing.
So what makes Lowcountry surfing different than let’s say… California?
🏄 There is actually more salt in the water off the Charleston coast than other beaches around the world, which changes the buoyancy of the board.
🏄 The water temperature can get pretty hot in the summer. No wetsuit required.
🏄 Around here you have rock jetties that stick out into the water– this is where you need to be careful, as the wind will want to push you in that direction.
🏄 The waves here are smaller + weaker, making them difficult to maneuver + do tricks.
🏄 The bottom of the ocean is sand, not rock or coral, which (from personal experience) is much nicer to fall into.
🏄 Don’t freak out– but we have quite of few species of sharks (most of which are not out to hurt you, but should still be respected from a safe distance). 🦈
With waves right in our backyard, + multiple professionals offering their expertise, the CHStoday team headed out to the water to take our first Charleston surf lesson.
When to surf
As Kyle told me, experienced surfers are the best meteorologists– as they are constantly paying attention to the wind patterns. In the late spring + early summer, surfing at Folly Beach is best between 8-9 a.m. while the winds are still mild, and the crowds are small.
When in doubt, don’t go out. While the point of surfing is to catch a wave, if the waves are big, or there is a current, it’s better to not risk it if you do not feel comfortable.
To know what the waves are like before you head out, check the Folly Beach swell reports + surf cams here.
What to wear
Depending on the time of the year, the water temperature on Folly varies. In the winter, the water can get as low as 45 degrees (so you will definitely want a wetsuit) and in the summer, grab your swim trunks or bikini because the water can be downright scorching. Even when it’s boiling, it’s a good idea to wear a rash guard to protect your skin from the sun + rubbing up against the board.
How to surf
1. Find a surf instructor. For first time surfers, it’s highly encouraged that you take at least one lesson from a professional. Rent a board for the first few times to make sure you enjoy the feel, and to test + see what types of boards you like. Those babies are not cheap!

Peter Melhado, founder of Isla Surf School | Photo by the CHStoday team
2. Get familiar with your board. Regardless of the style of board you use, the overall logistics are the same. (We were using foam boards which are easier to maneuver in the water, and safer to fall from (due to the soft edges)).

Peter Melhado, founder of Isla Surf School, explaining the parts of the surfboard | Photo by the CHStoday team
Deck. The top side of the surfboard.
Nose. The front of the board.
Tail. The back of the board.
Rails. The sides of the board.
Fins. Located on the bottom of the board.
Leash. Your leash attaches to your back foot. This is important so your board doesn’t get away from you when you fall. Not only will it keep the board close by, but it also serves as a flotation device for when you’re in too deep.

Peter Melhado, founder of Isla Surf School, showing the fins | Photo by the CHStoday team
3. Figure out which foot to put first. When surfing, your dominant foot goes toward the back of the board. If you are not sure which foot is dominant, take a step (or have someone gently push you from behind) and see which food you step forward with. For Nikki + I, who are both right-handed, our right leg went in back. Whereas Jen, who is left-handed, put her left leg in back-– Jen’s surfing style is called “goofy footed.”
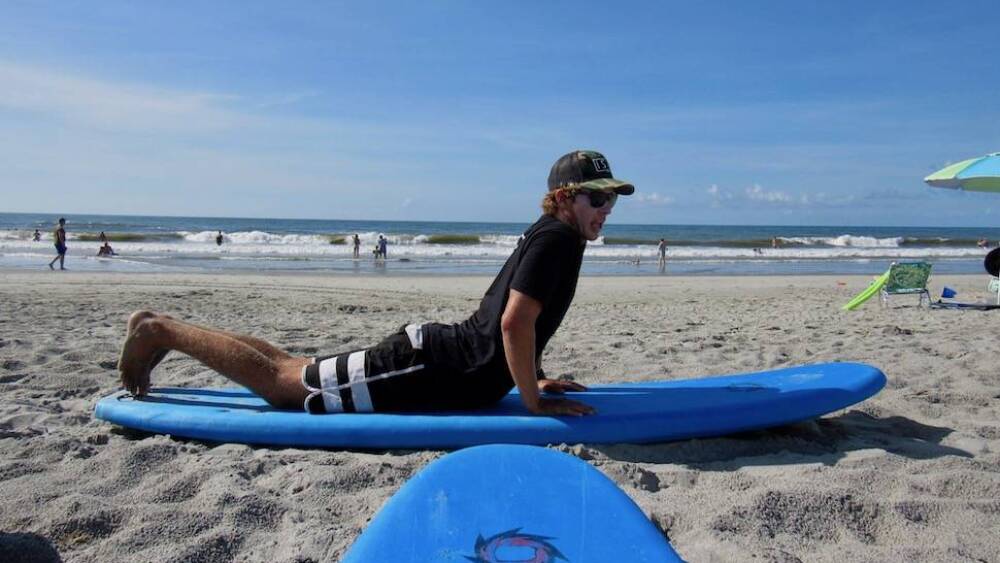
4. Position yourself on the board. Before heading out into the water, start on the sand to get a feel for the board. To do this, lay down on your stomach with your big toes near the back of the board. On these foam boards, your big toes go right on top of where the plugs are for the fins.
5. Paddle. Pretend to paddle in the sand, just as you would when you’re able to catch that first wave.

Peter Melhado, founder of Isla Surf School | Photo by the CHStoday team
6. Position your hands. Place your hands directly on top of the board (not grabbing onto the sides) with your hands positioned close to your body– about right under your armpits.

Peter Melhado, founder of Isla Surf School | Photo by the CHStoday team
Push yourself up by distributing your weight evenly into both hands.
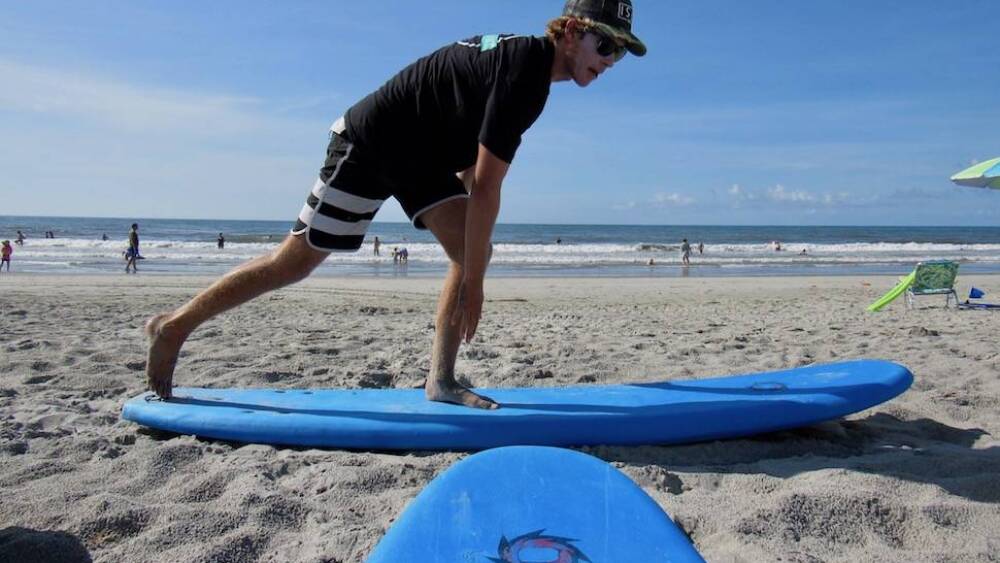
7. Pop up! Pop up onto your feet with your non-dominant foot in front, and slide your dominant foot up from the back.

Peter Melhado, founder of Isla Surf School | Photo by the CHStoday team
Position your feet sideways on the board, a little more than hip distance apart.

Peter Melhado, founder of Isla Surf School | Photo by the CHStoday team
As soon as your feet hit the board, stand up, with knees bent, and put your arms out to the sides for balance. Pick a spot in front of you to focus on– where you look is where you will go– so don’t look down at your feet.

Peter Melhado, founder of Isla Surf School | Photo by the CHStoday team
7. Practice. I can tell you from personal experience, popping on on your board on the sand is much easier than doing it in the water. Practicing on the sand multiple times first helps get a feel of where to place your feet when you’re out on the water.
So how did our team do?
First, a huge shoutout to Peter, who is an incredible teacher. Peter (along with the other surf instructors) isn’t going to just throw you out into the water and wish you the best of luck. He helped our team wait for the perfect waves and instructed us on what to do + when.

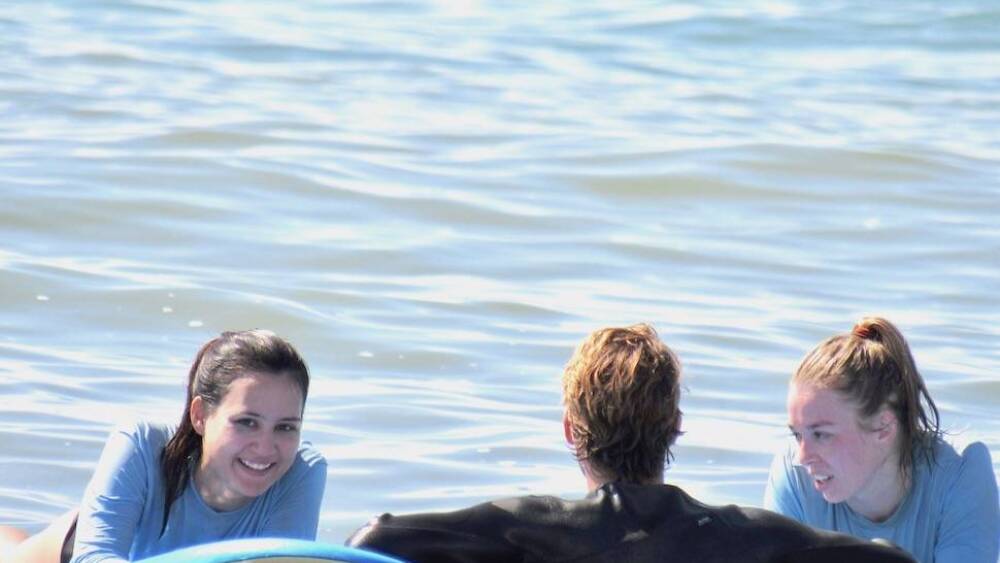
Peter Melhado, founder of Isla Surf School, instructing the CHStoday team | Photo by the CHStoday team
Here, Peter is instructing Nicole to paddle right before she pops up to catch the wave.
Pop up success!
Next up, Jen. Nicole watches Jen execute a perfect pop up.
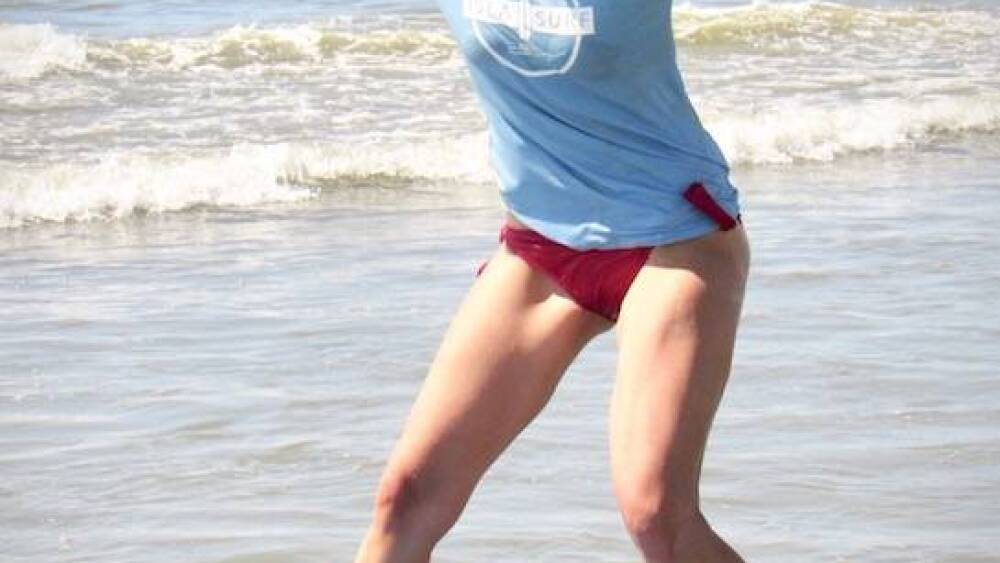
Nailed it, fembrah! Believe it or not, all three of us actually got up on our first try.
While the pop-ups were successful, the bailouts weren’t always as graceful.
While we don’t see anyone of us becoming the next Kelly Slater, finding pura vida for an afternoon did have us hanging loose.
Local surf lessons + camps

Image via Isla Surf School
Ready to catch some waves for yourself? Multiple places around the Lowcountry offer surf lessons, kids camps, + rentals so you can be the big kahuna.
Isla Surf School
📍 Folly Beach
🏄 Lessons: 90-minute session ($85/person for a private lesson, $110/couple, $135+ for a group)
🏄 Camps for ages 5+ ($370 per week)
Carolina Salt Surf Lessons
📍 Folly Beach, Isle of Palms, + John’s Island
🏄 Private Lessons: 1 hour, 1.5 hours, + 2 hours ($45- $90/person; group discounts available)
🏄 Camps for ages 7-17 ($375 per week)
🏄 Surfboard rentals with a guide to launching sites ($30/day, $75 for three days, $150/week)
Sol Surfers Surf Camp, LLC
📍 Folly Beach
🏄 Lessons: 90 minute session; 9 a.m.- 12:30 p.m. ($100/person for a private lesson; $80/person in a group setting)
🏄 Camps for ages 6-17 ($350 for five days)
Shaka Surf School
📍 Folly Beach
🏄 Lessons: 1 hour ($60/person for a private lesson; $50/person in a group setting)
🏄 Camps for ages 7-17 ($320 for five days)
🏄 Women’s surf + Yoga– every other Saturday throughout the summer ($90/person)
Ocean Fitness
📍 Isle of Palms
🏄 Lessons: For kids under 18 ($80/person for a private lesson; $60/person in a group setting)
They say a bad day of surfing is still better than a good day at work. Lucky for us, we had an epic day of surfing + it counted as work.
Surf’s up, Charleston.
– Justine


